
Installing a new roof is a significant undertaking that requires careful planning and attention to detail. As homeowners, we must be fully aware of the steps involved in the process to ensure a successful outcome. Proper installation is imperative not only for the longevity of our roof but also for the safety and structural integrity of our home. From selecting the right materials to understanding the installation sequence, every phase must be handled with precision and knowledge.
We understand that the prospect of installing a new roof can be daunting. Therefore, we aim to provide you with an informative guide that demystifies the complexity of the task. Our step-by-step guide is crafted to empower you with the essential know-how, equipping you to tackle the project with confidence or to communicate effectively with professionals. By arming yourself with this knowledge, you can oversee the installation process, ensuring that every aspect aligns with the best practices and industry standards.
Key Takeaways
- A comprehensive plan is critical for successful roof installation.
- Knowledge of the installation process enhances homeowners’ confidence.
- A well-installed roof contributes to the home’s overall well-being.
Preparing for a New Roof
When we prepare for a new roof, the focus is on selecting suitable materials and understanding the entire installation process. We’ll also consider the financial aspects to ensure the project aligns with our budget.
Choosing the Right Roofing Material
The right roofing material is pivotal to the longevity and efficiency of our roof. Asphalt shingles are popular for their cost-effectiveness and ease of installation, making them a suitable choice for many. For those looking for increased durability and a distinctive style, a metal roof may be preferable. It’s essential to factor in our local climate when making this decision, as some materials perform better in certain weather conditions.
Understanding the Roof Installation Process
Knowing what the installation entails helps us set realistic expectations and aids in communication with our chosen roofing contractor. A well-defined roof plan is the blueprint for the entire project. If we opt for DIY, we must understand each step thoroughly; however, a professional contractor is recommended for complex projects to ensure quality and safety.
Budgeting and Planning
Preparing a budget for our roofing project requires gathering multiple quotes from reputable contractors to gauge the average roof costs. A comprehensive budget should account for all potential expenses, including unexpected repairs or upgrades. Roof replacement cost can vary widely, so it is crucial to align our material choice and scope of work with the amount we’re willing to invest.
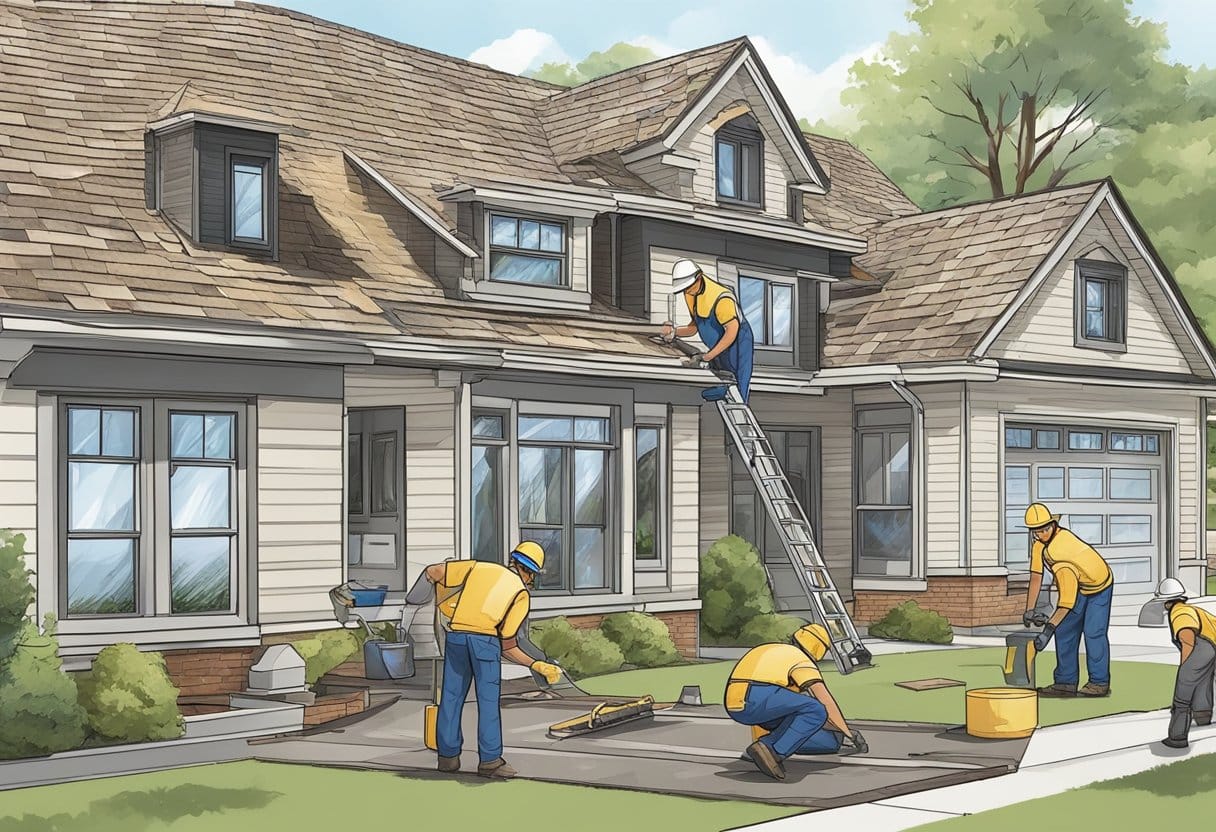
Understanding Roof Installation Essentials
Embarking on a residential roof installation project involves critical preliminary steps. The foundation of a successful roof installation is rooted in hiring an adept roofing contractor and navigating the legalities surrounding permits.
Hiring a Reputable Roofing Contractor
When we start our roofing project, the first step is to ensure we engage a reputable roofing contractor. It’s crucial to do diligent research and solicit multiple quotes to compare options. There are a few key indicators that signal professionalism and reliability in a contractor:
- Credentials: Look for contractors with the necessary licenses and insurance, which demonstrate adherence to industry standards.
- Experience: Prioritize contractors with a proven track record of installing high-quality roofs.
- References: Request and follow-up with references to gauge past customer satisfaction.
- Written Estimates: Insist on detailed, written estimates to understand the scope and cost of the project.
By selecting a roofing contractor who exemplifies these qualities, we lay the groundwork for a dependable and professionally executed roof installation.
Obtaining Necessary Permits
Before the actual work begins, it’s our responsibility to secure the appropriate building permits. Permits are a safeguard, ensuring that our roof installation conforms to local building codes and regulations. Here’s a straightforward approach to handle permits:
- Research: Determine the specific permit requirements for our area, as these can vary by location.
- Application: Our chosen professional installer can often manage the permit application process, streamlining the procedure for us.
- Inspection: Understand that there will likely be inspections before, during, and after the installation to ensure the work meets the necessary standards.
Staying compliant with local building codes by obtaining the right permits not only keeps our project lawful but also ensures the safety and integrity of our roof installation.
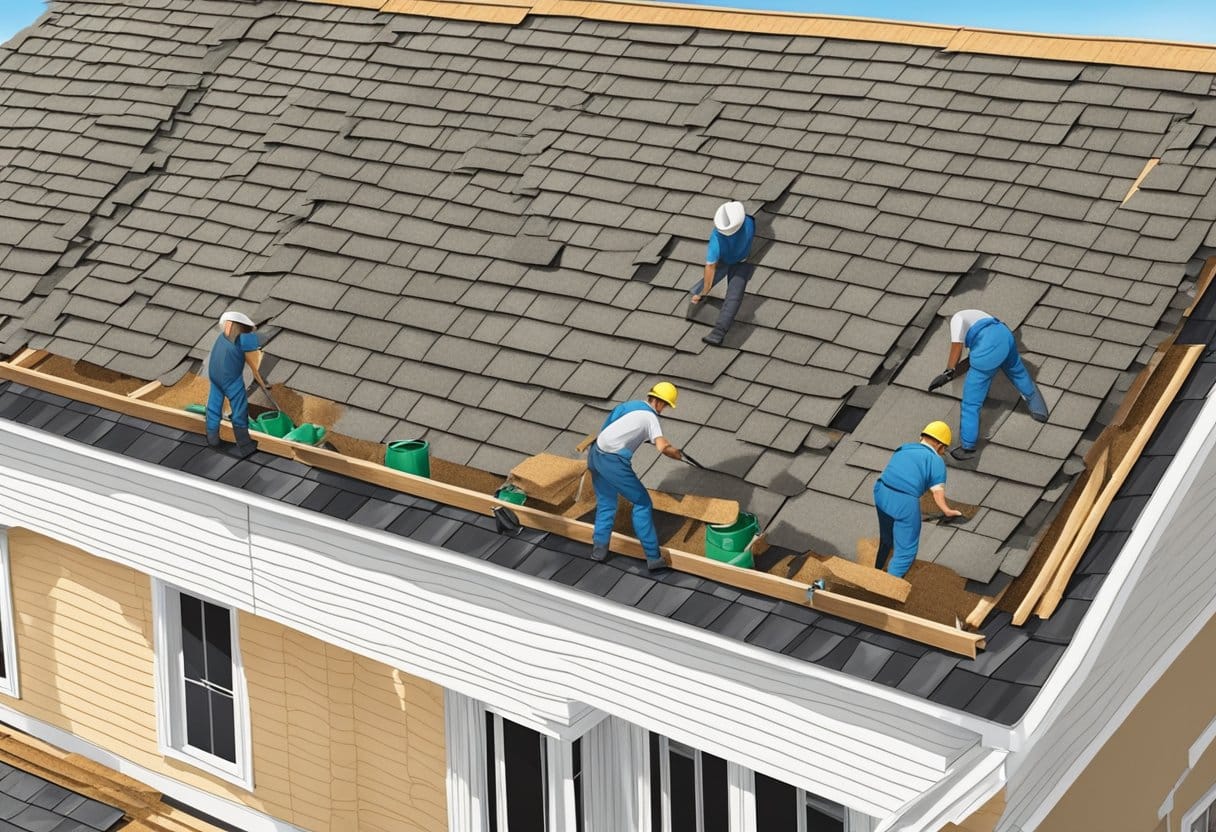
Removing the Old Roof
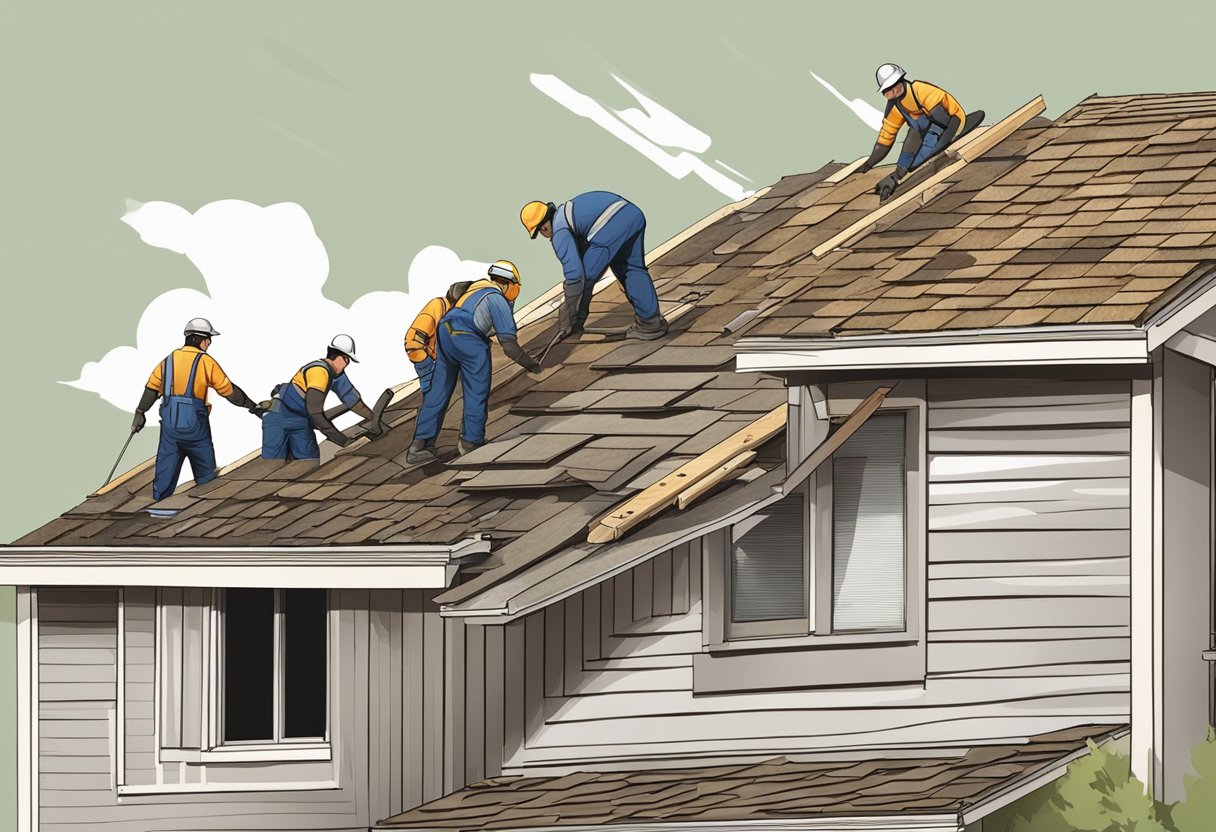
Before we begin the process of installing a new roof, it’s critical to properly remove the old one. This involves not just the physical removal of old roofing materials, but also ensuring that safety and protection measures are in place to prevent injury and property damage.
Safety and Protection Measures
First and foremost, we prioritize safety for both workers and residents. Here’s how we approach it:
- Personal Protective Equipment (PPE): We wear the appropriate safety gear, including hard hats, gloves, slip-resistant boots, and safety glasses.
- Fall Protection: Safety harnesses and anchors are a must when working at heights.
- Area Preparation: To protect the landscaping and surrounding areas from falling debris, we lay tarps around the perimeter of the house.
Tear-Off Techniques
Our technique for removing old roofing material is systematized to increase efficiency and safety:
- Starting from the Top: We begin at the peak of the roof and work our way down to avoid piling debris above work areas.
- Systematic Removal: Shingles are removed in small sections, and nails are pulled out or hammered flat to protect the roof deck.
- Cleanup: As we remove old roofing materials, we regularly clean up debris to maintain a safe working environment.
By adhering to these steps, we can ensure that the old roofing material is removed effectively, setting the stage for a successful new roof installation.
Installation Fundamentals
Before we embark on the actual installation, it’s crucial to understand the importance of a robust underlayment and properly installed flashing and drip edge. These elements are central to ensuring a watertight and durable roof.
Installing the Underlayment
The underlayment acts as a critical barrier, protecting your roof from water intrusion. For standard protection, we typically use synthetic underlayment, which is known for its strength and durability. In areas prone to significant water exposure, we recommend waterproof underlayment or a self-adhesive waterproof underlayment to provide an extra layer of defense against moisture. Prior to laying the underlayment, ensure the roof deck is clean and free of debris. Starting from the bottom, we roll out the underlayment horizontally and secure it with caps and roofing nails, overlapping each row by at least six inches to maintain continuity.
Securing the Flashing and Drip Edge
Metal flashing is critical as it fortifies the joints and valleys on your roof, locations particularly vulnerable to water penetration. We begin by installing metal drip edges along the eaves, then put the underlayment in place, and finally, secure the drip edge on the rakes of the roof. We use a caulk gun loaded with high-quality sealant to seal the flashing at the roof’s valleys, around vents, and chimneys. It’s imperative to ensure that every piece of flashing is properly sealed to create a comprehensive water barrier for the integrity of your roofing system.
Finalizing the Roofing
In finalizing the roofing, it’s crucial to attach the materials properly and ensure adequate ventilation and sealing. We’ll be precise about these essential steps to guarantee the roof’s longevity and functionality.
Attaching the Roofing Material
When installing the roofing material, specifically shingles, we begin by laying a starter strip at the edge. This serves as an anchor for the first row of shingles and ensures a straight line, typically established by a chalk line. Using roofing nails, we carefully fasten each shingle, taking care to avoid any exposed nail heads as they can cause leaks. Shingles should overlap according to manufacturer’s instructions for maximum protection.
- Lay starter shingles: aligned with the chalk line.
- Nail down shingles: use four roofing nails per standard shingle.
- Ensure overlap: follow specific overlapping measurements.
For the top of the roof, a ridge cap creates a clean, finished look and provides additional leak protection. We shape the cap from regular shingles or utilize preformed ones. Each piece must overlap its predecessor, with nails placed on each side of the ridge, covered by the next cap to secure and prevent water ingress.
- Install ridge cap shingles: overlap each cap shingle correctly.
- Secure with nails: Place on both sides and cover with the next shingle.
Ensuring Proper Ventilation and Sealing
Proper ventilation is a key aspect of a durable roofing system, preventing heat and moisture from building up in the attic. We integrate ridge vents at the peak, allowing hot air to escape. These vents require precise cuts in the roof decking and must be covered with vent material to prevent moisture or debris from entering.
- Cut for ridge vents: make precise cuts in decking.
- Cover vents: use durable vent material to protect the opening.
We apply high-quality flashing around roof protrusions, such as chimneys and vents, which is then sealed to prevent water from seeping under the shingles. Careful attention to sealing assures that the joints and edges against elements are well-protected. Sealants must be applied to the bottom edge of the flashing, without blocking the weep holes that allow for internal condensation to escape.
- Install flashing: apply around roof features, then seal.
- Seal edges: used specifically designed roof sealants for this purpose.
By carefully executing each step and double-checking our work, we ensure that the roofing materials are secured and the structure is watertight and ventilated, concluding the roofing installation proficiently.
Frequently Asked Questions
When it comes to residential roof installation, we understand you may have several questions. Below are succinct answers to some of the most frequently asked questions.
What materials are required for replacing an existing roof?
For replacing an existing roof, materials often include new shingles or roofing material, underlayment, drip edge, flashing, and sometimes new decking, depending on the condition of the existing roof.
What are the steps involved in the roofing process for a new installation?
The roofing process for a new installation typically involves removing the old roof, inspecting and repairing the underlying structure, installing underlayment and drip edge, setting new flashing, and adding the new shingles or roofing material.
Can you describe the installation process for a pitched roof?
Installation on a pitched roof includes setting up an underlayment, applying roofing felt, and attaching shingles from the bottom up, overlapping each row, and securing flashings at intersections and protrusions.
What different types of roof installations should homeowners be aware of?
Homeowners should be aware of several types of roof installations, including asphalt shingle, metal roofing, tile, and flat roofing systems, each with its unique installation process and material requirements.
Is it feasible to save money by installing a roof without professional help, and what should be considered?
Installing a roof without professional help can save money, but it requires a strong knowledge of roofing techniques, proper safety measures, and a significant time commitment. It is crucial to consider the complexity of the job and local building codes.
Can existing shingles remain in place when re-roofing a house, and what is the procedure?
Existing shingles can sometimes remain when re-roofing a house, but only if the roof structure is sound and building codes permit. The procedure involves placing a new layer of shingles over the existing one, often after installing a new drip edge and flashing.